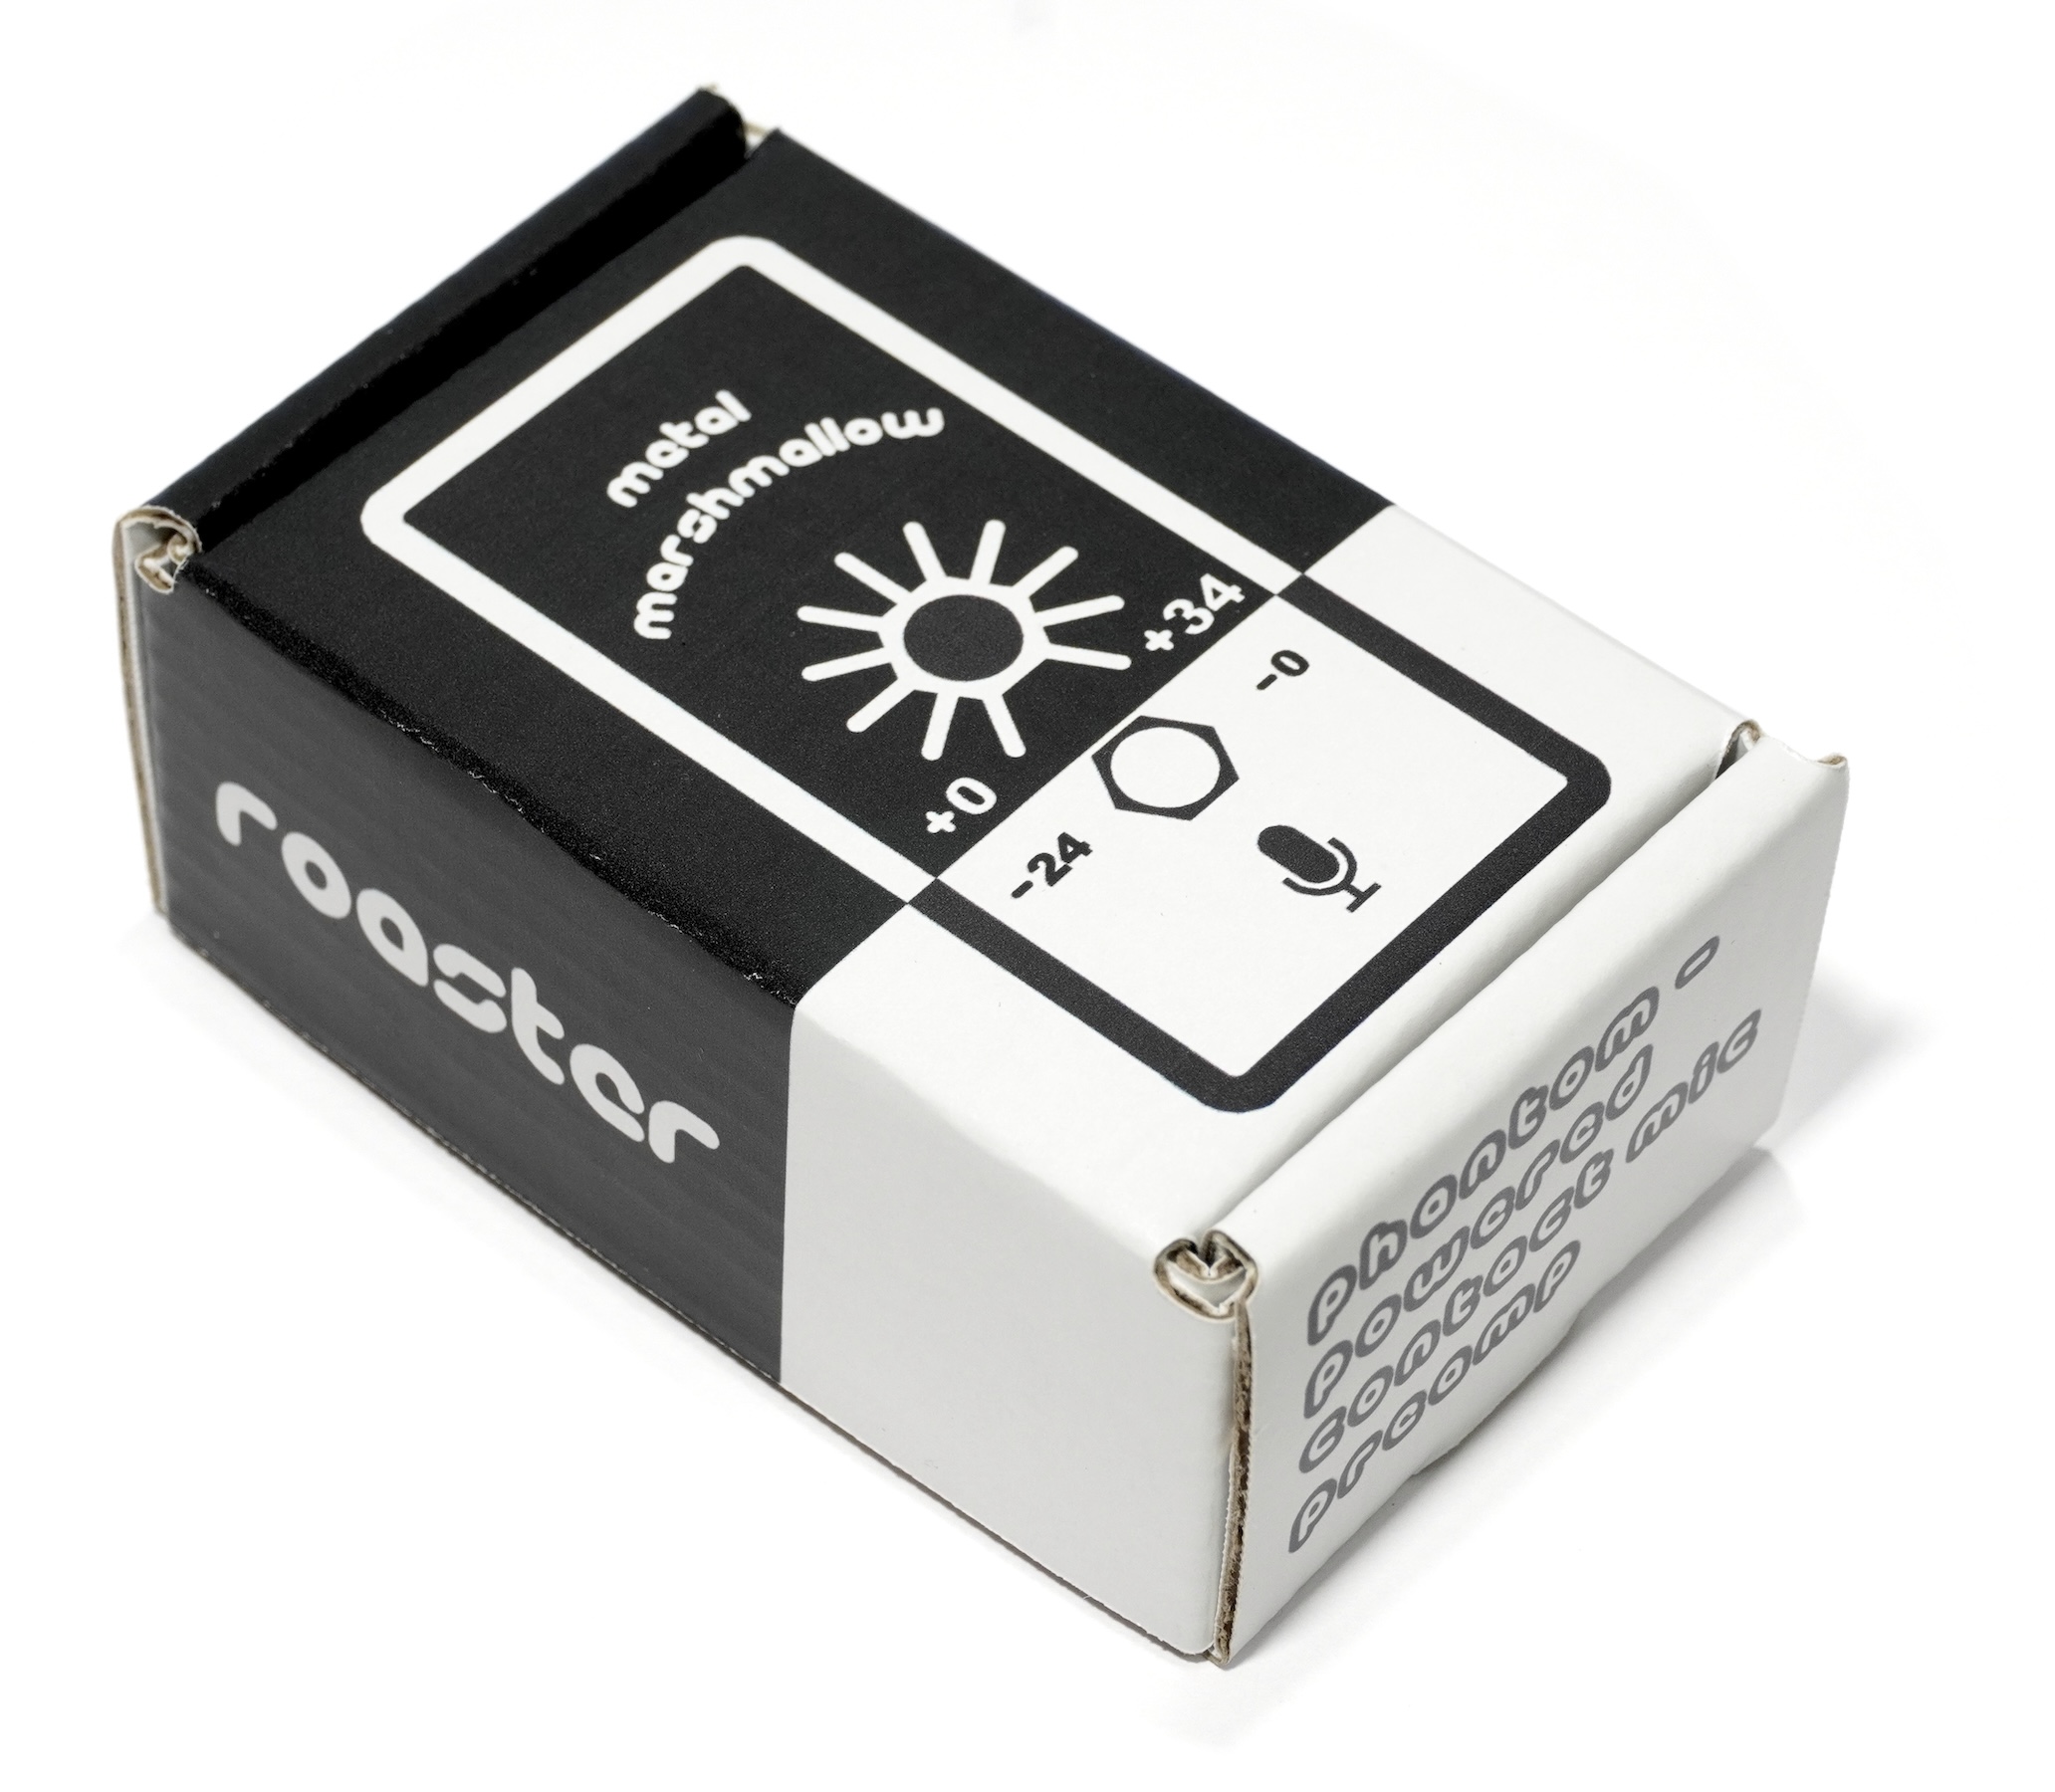
Metal Marshmallow Roaster is a preamplifier for contact microphones. If you plug a piezo disc or contact mic sensor into it, it will boost or attenuate the audio signal, giving you crisp, crystal clear sound. It is intended to be used in conjunction with
Metal Marshmallow Morsel, which is a contact mic sensor. They can be purchased together in a single listing
by following this link.
While it may be physically possible to plug a contact mic sensor directly into an audio recording interface with no intervening preamplifier, the resulting audio quality is usually very poor. Impedance mismatch issues cause
mid and low frequencies to be completely lost. In response to loud sounds, piezo discs can easily output
voltages that are too high for normal audio equipment to handle. Piezo discs and cheap contact microphones are typically
not properly shielded, resulting in audio that is plagued with loud humming from electromagnetic interference. Consumer audio equipment often contains noisy preamplifiers, making it impossible to record very quiet sounds without the sound being drowned out by hiss. Due to these issues, piezo discs and contact mic sensors require a dedicated, specially designed preamplifier to record high-fidelity sound.
Metal Marshmallow Roaster solves all of these problems, making it possible to use a piezo disc to record anything from the very loudest sounds to the very quietest ones, at frequencies ranging from subsonic to supersonic, with high fidelity and low noise. Plug a contact microphone sensor such as
Metal Marshmallow Morsel into it, and then plug it int any standard microphone input on a mixer, audio interface, or handheld recorder, and a whole new world of sound will be yours.
Features
- High impedance input optimized for piezo elements
- Balanced mic level output
- Wide bandwidth 1.5 Hz to 530 kHz
- Wide gain range -24 dB to +34 dB
- Low Noise
- Carefully sheilded design for hum rejection
Elements
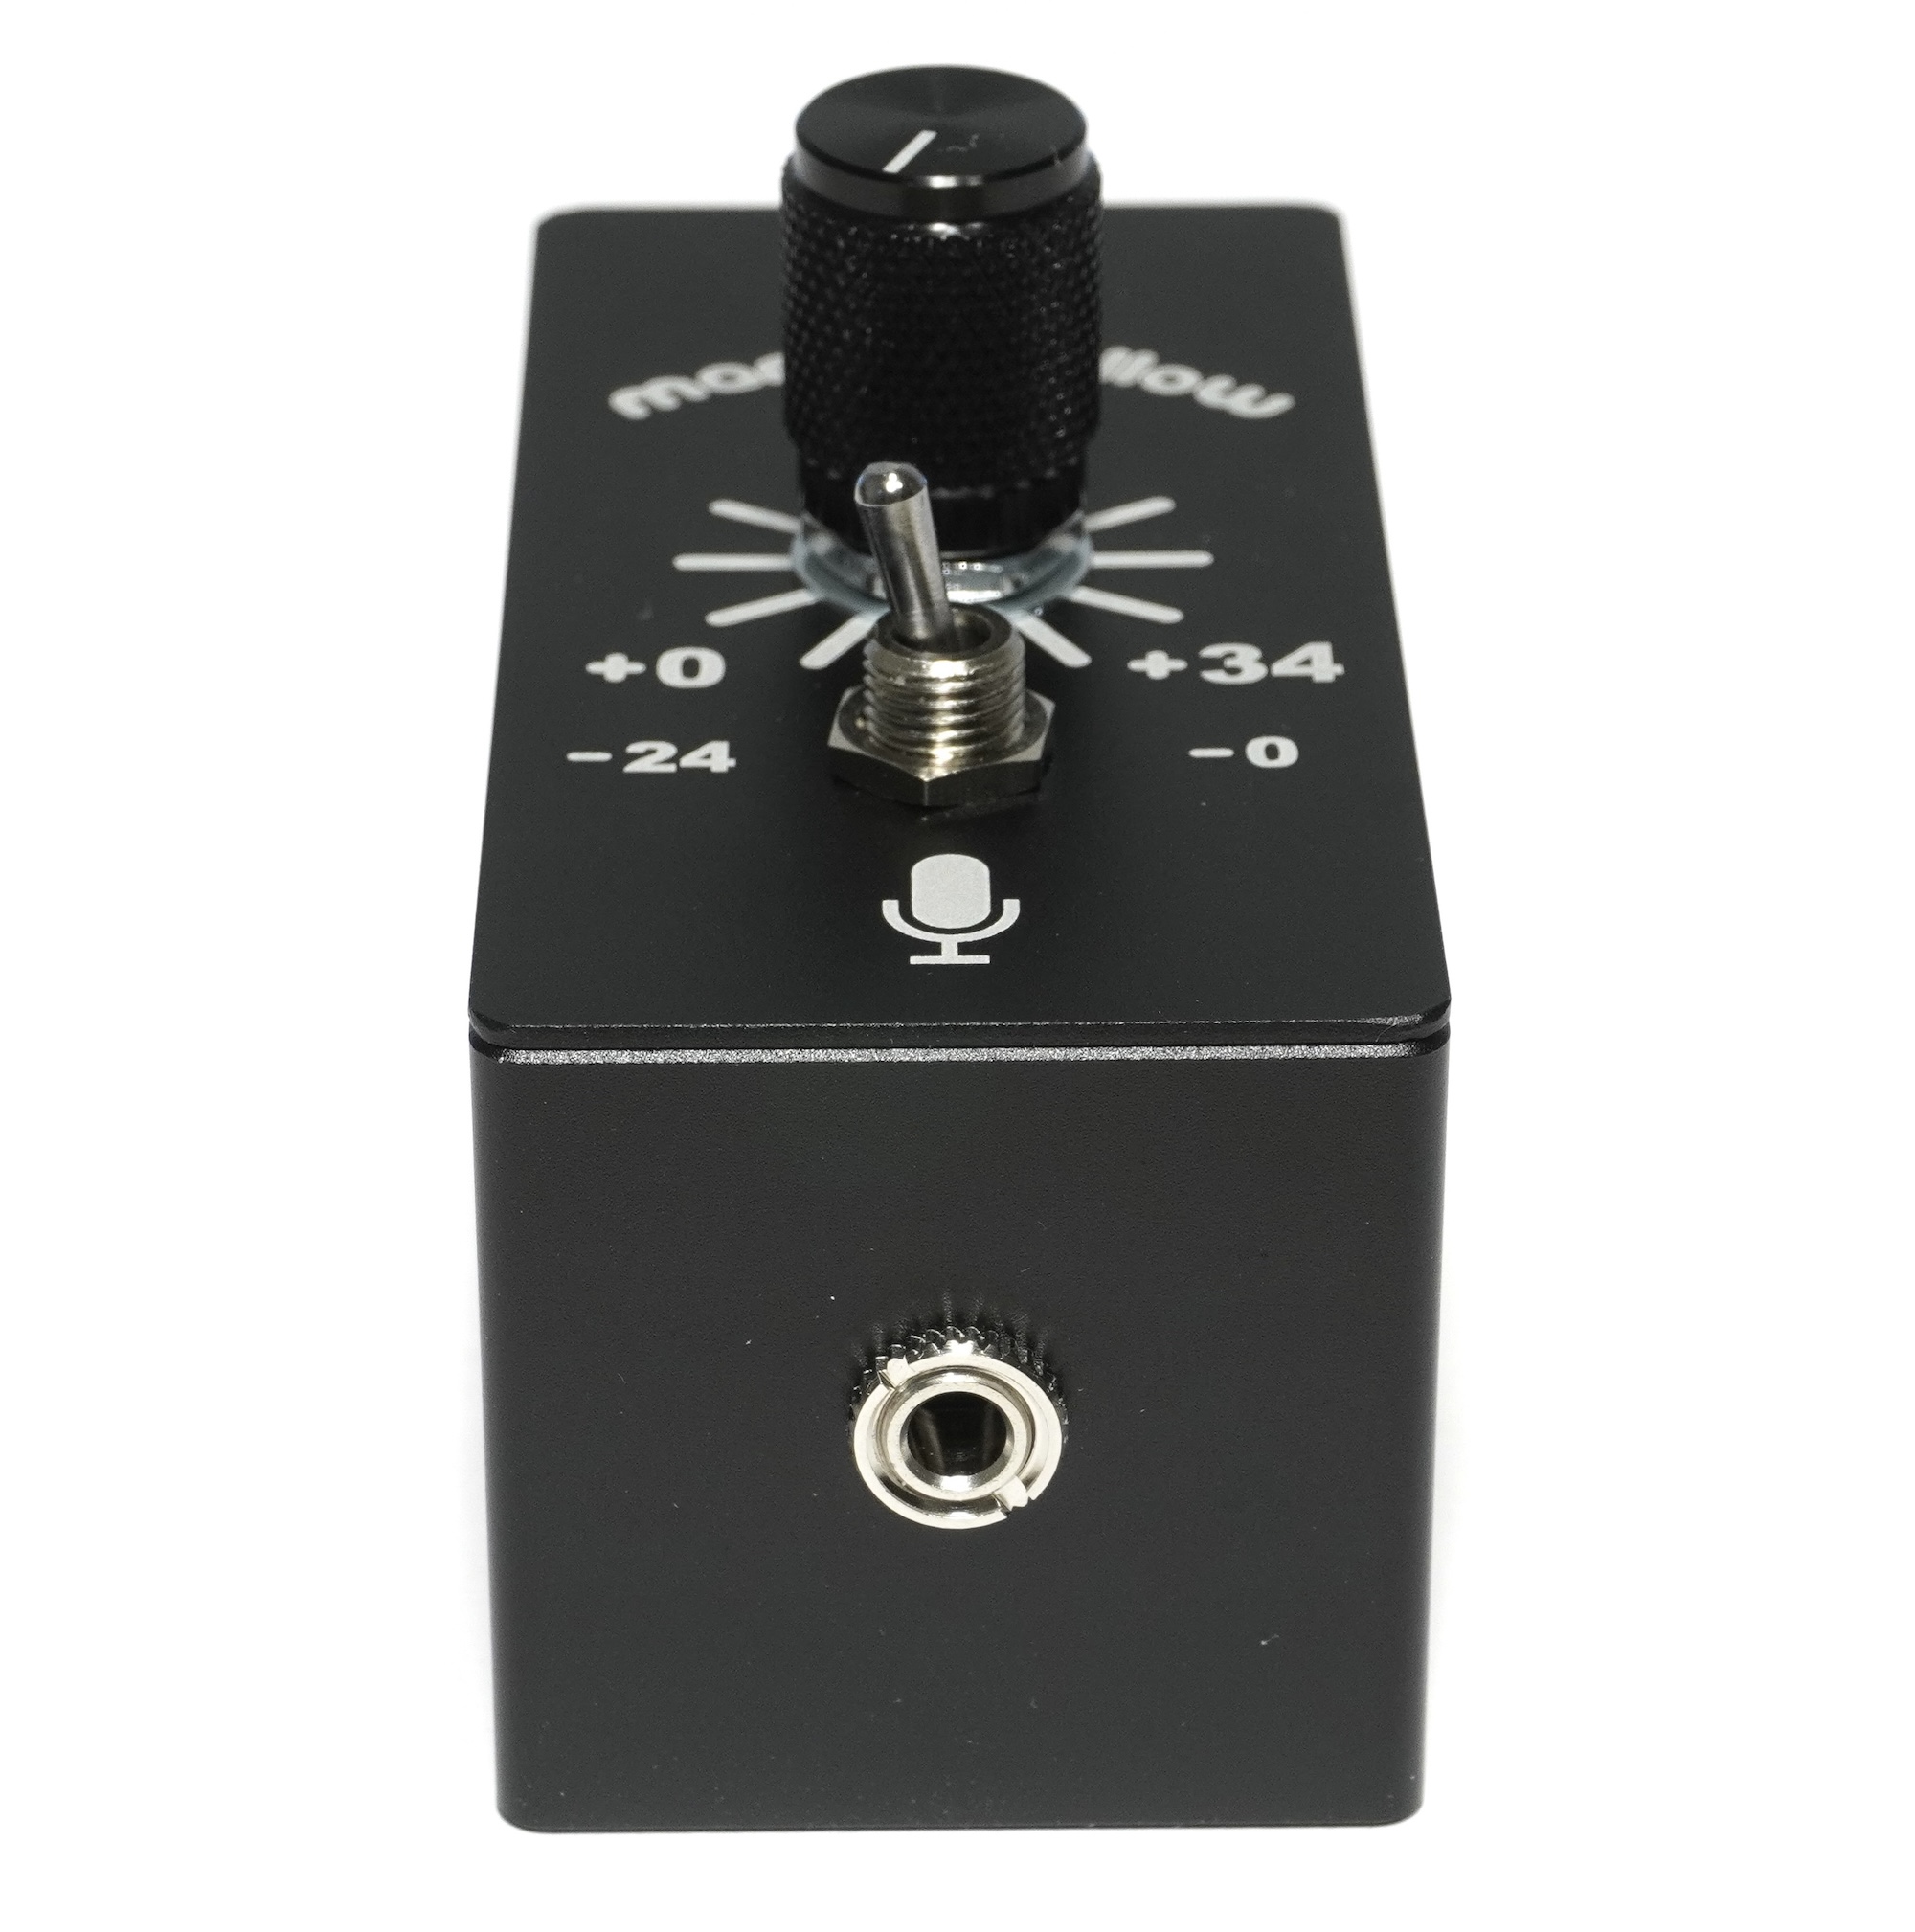
3.5mm Input Jack:
This is the audio input. It is where you plug in
Metal Marhsmallow Morsel. It is also possible to plug in a regular piezo disc or other contact mic sensor. The piezo element should be terminated on a 3.5mm "Stereo" TRS (Tip-Ring-Sleeve) plug. It should be connected as follows:
- Tip → Piezo Red Wire
- Ring → Piezo Black Wire
- Sleeve → Something metal that encloses the disc without touching it
A cheap piezo disc that is wired to a "Mono" TS (Tip-Sleeve) plug will not work; this is the incorrect wiring for a piezo disc.
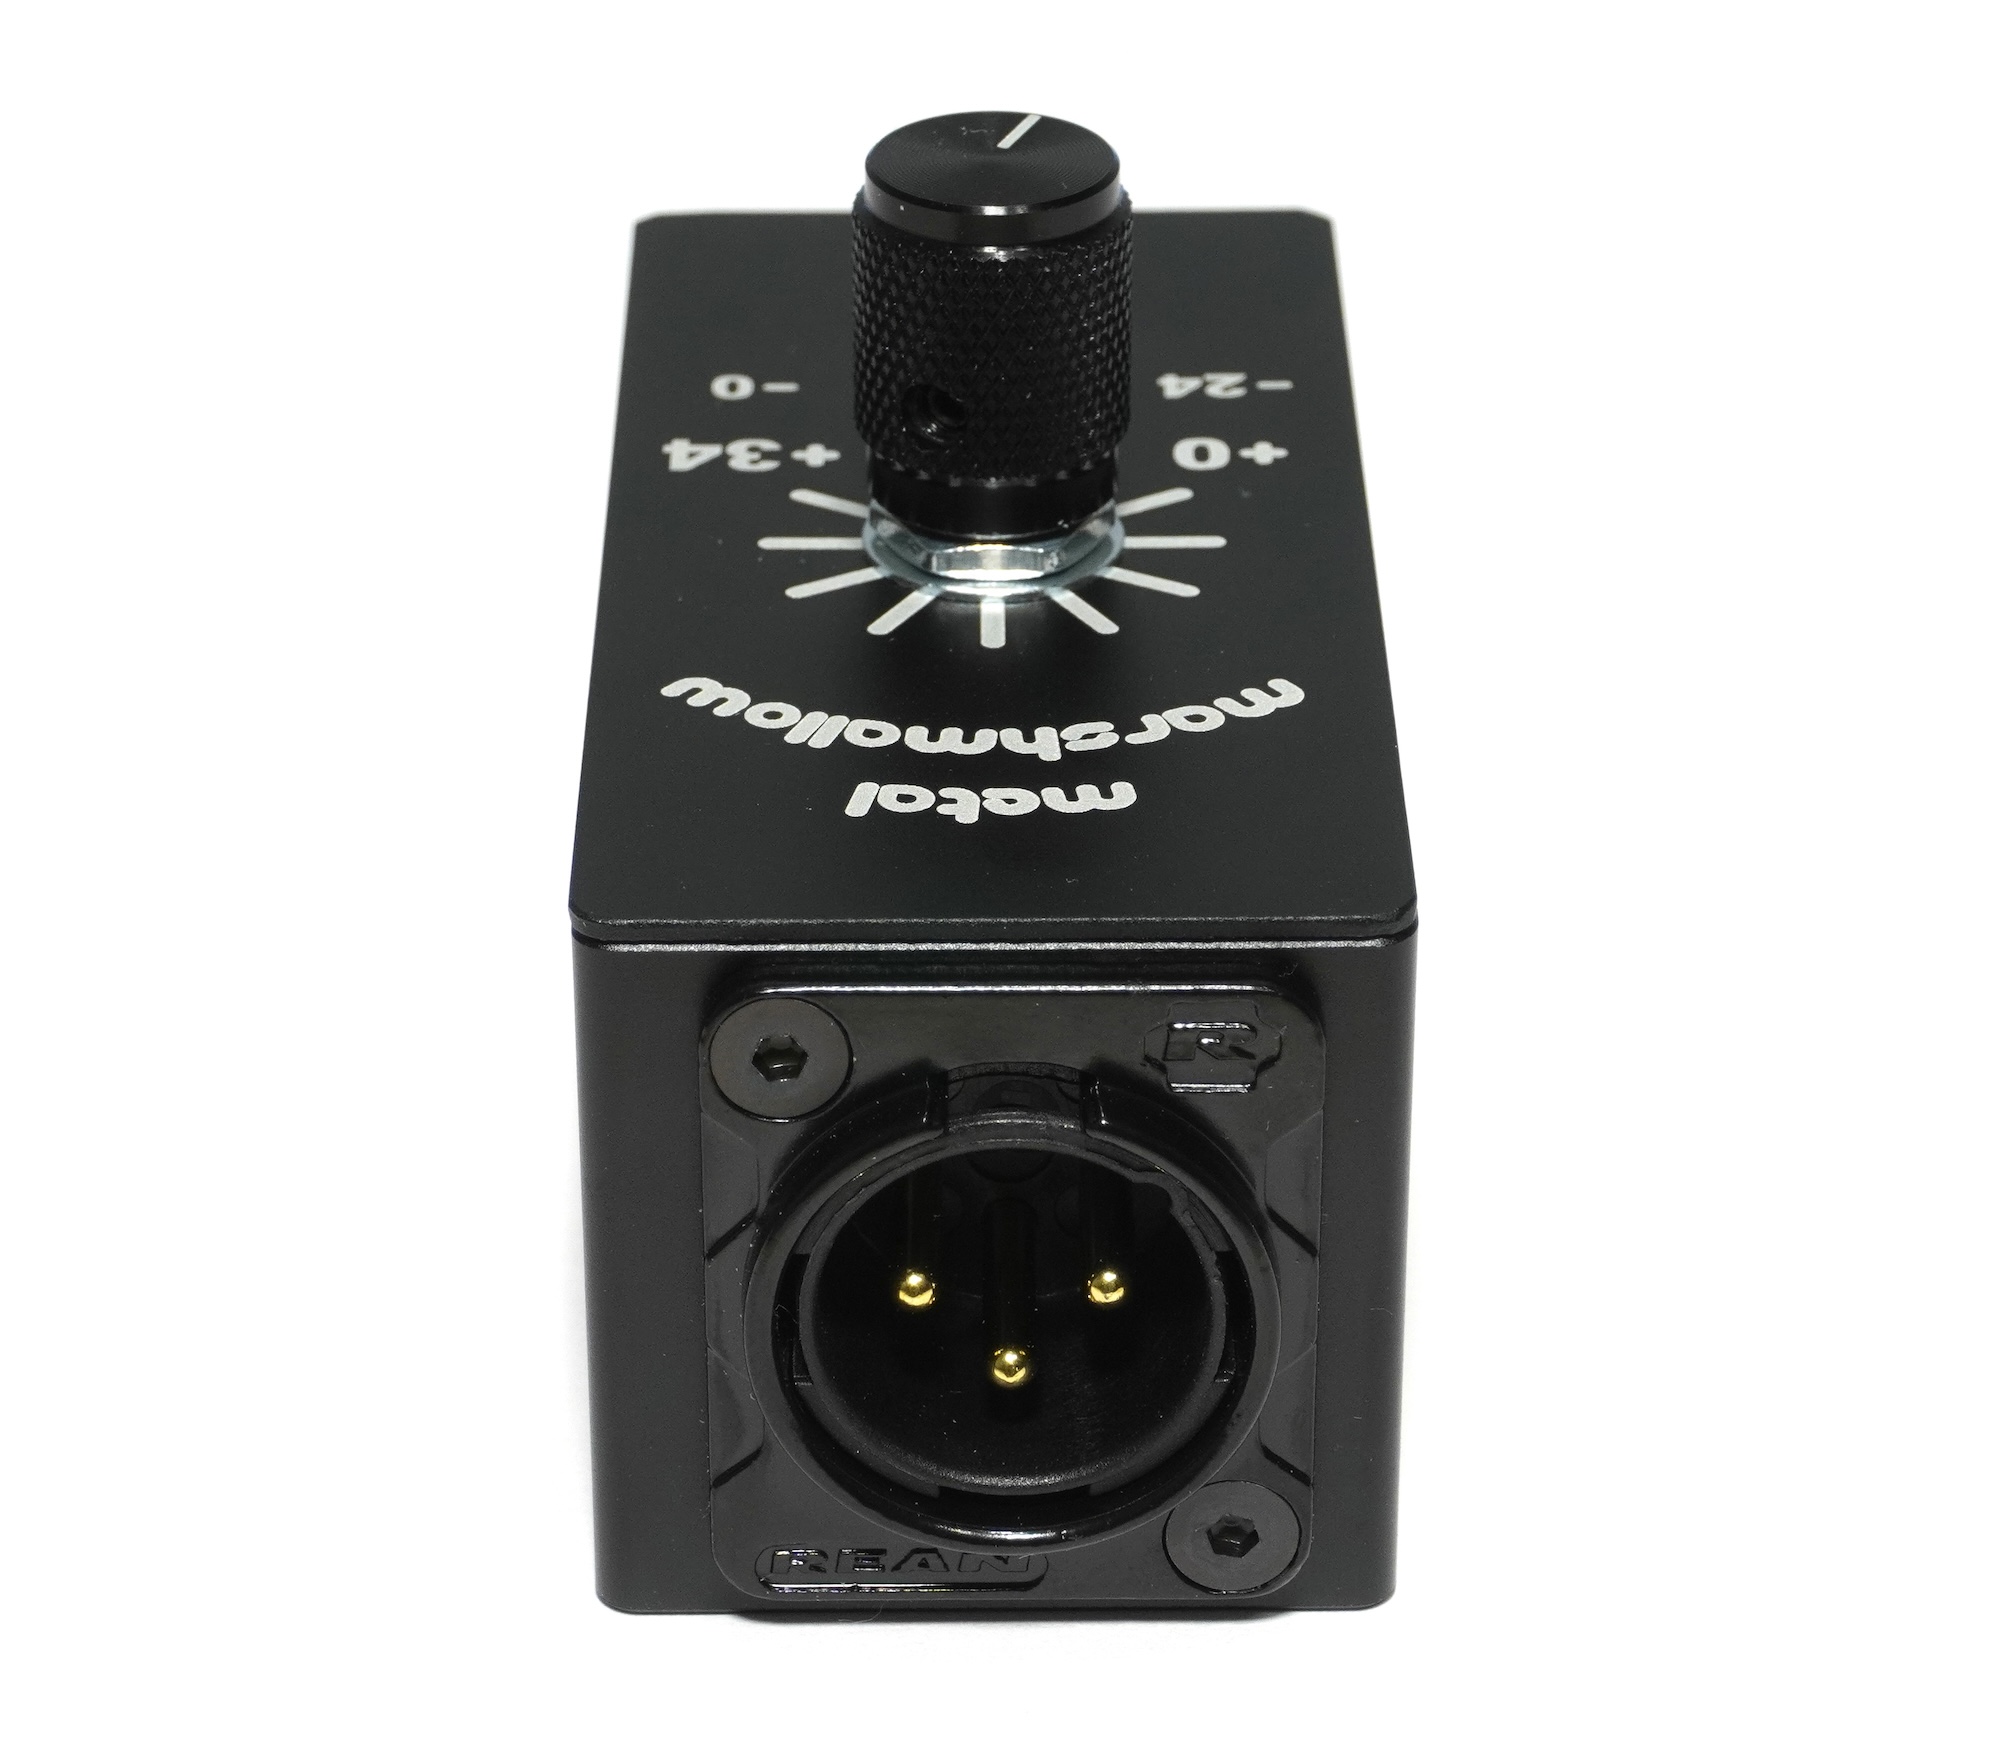
XLR Output Receptacle:
This is the audio output. Use an XLR cable to plug MM Roaster into a microphone input on your audio interface, mixer, or recording device. Additionally, MM Roaster is powered via +48V Phantom Power through this receptacle, meaning +48V will have to be enabled on your audio interface for MM Roaster to operate.
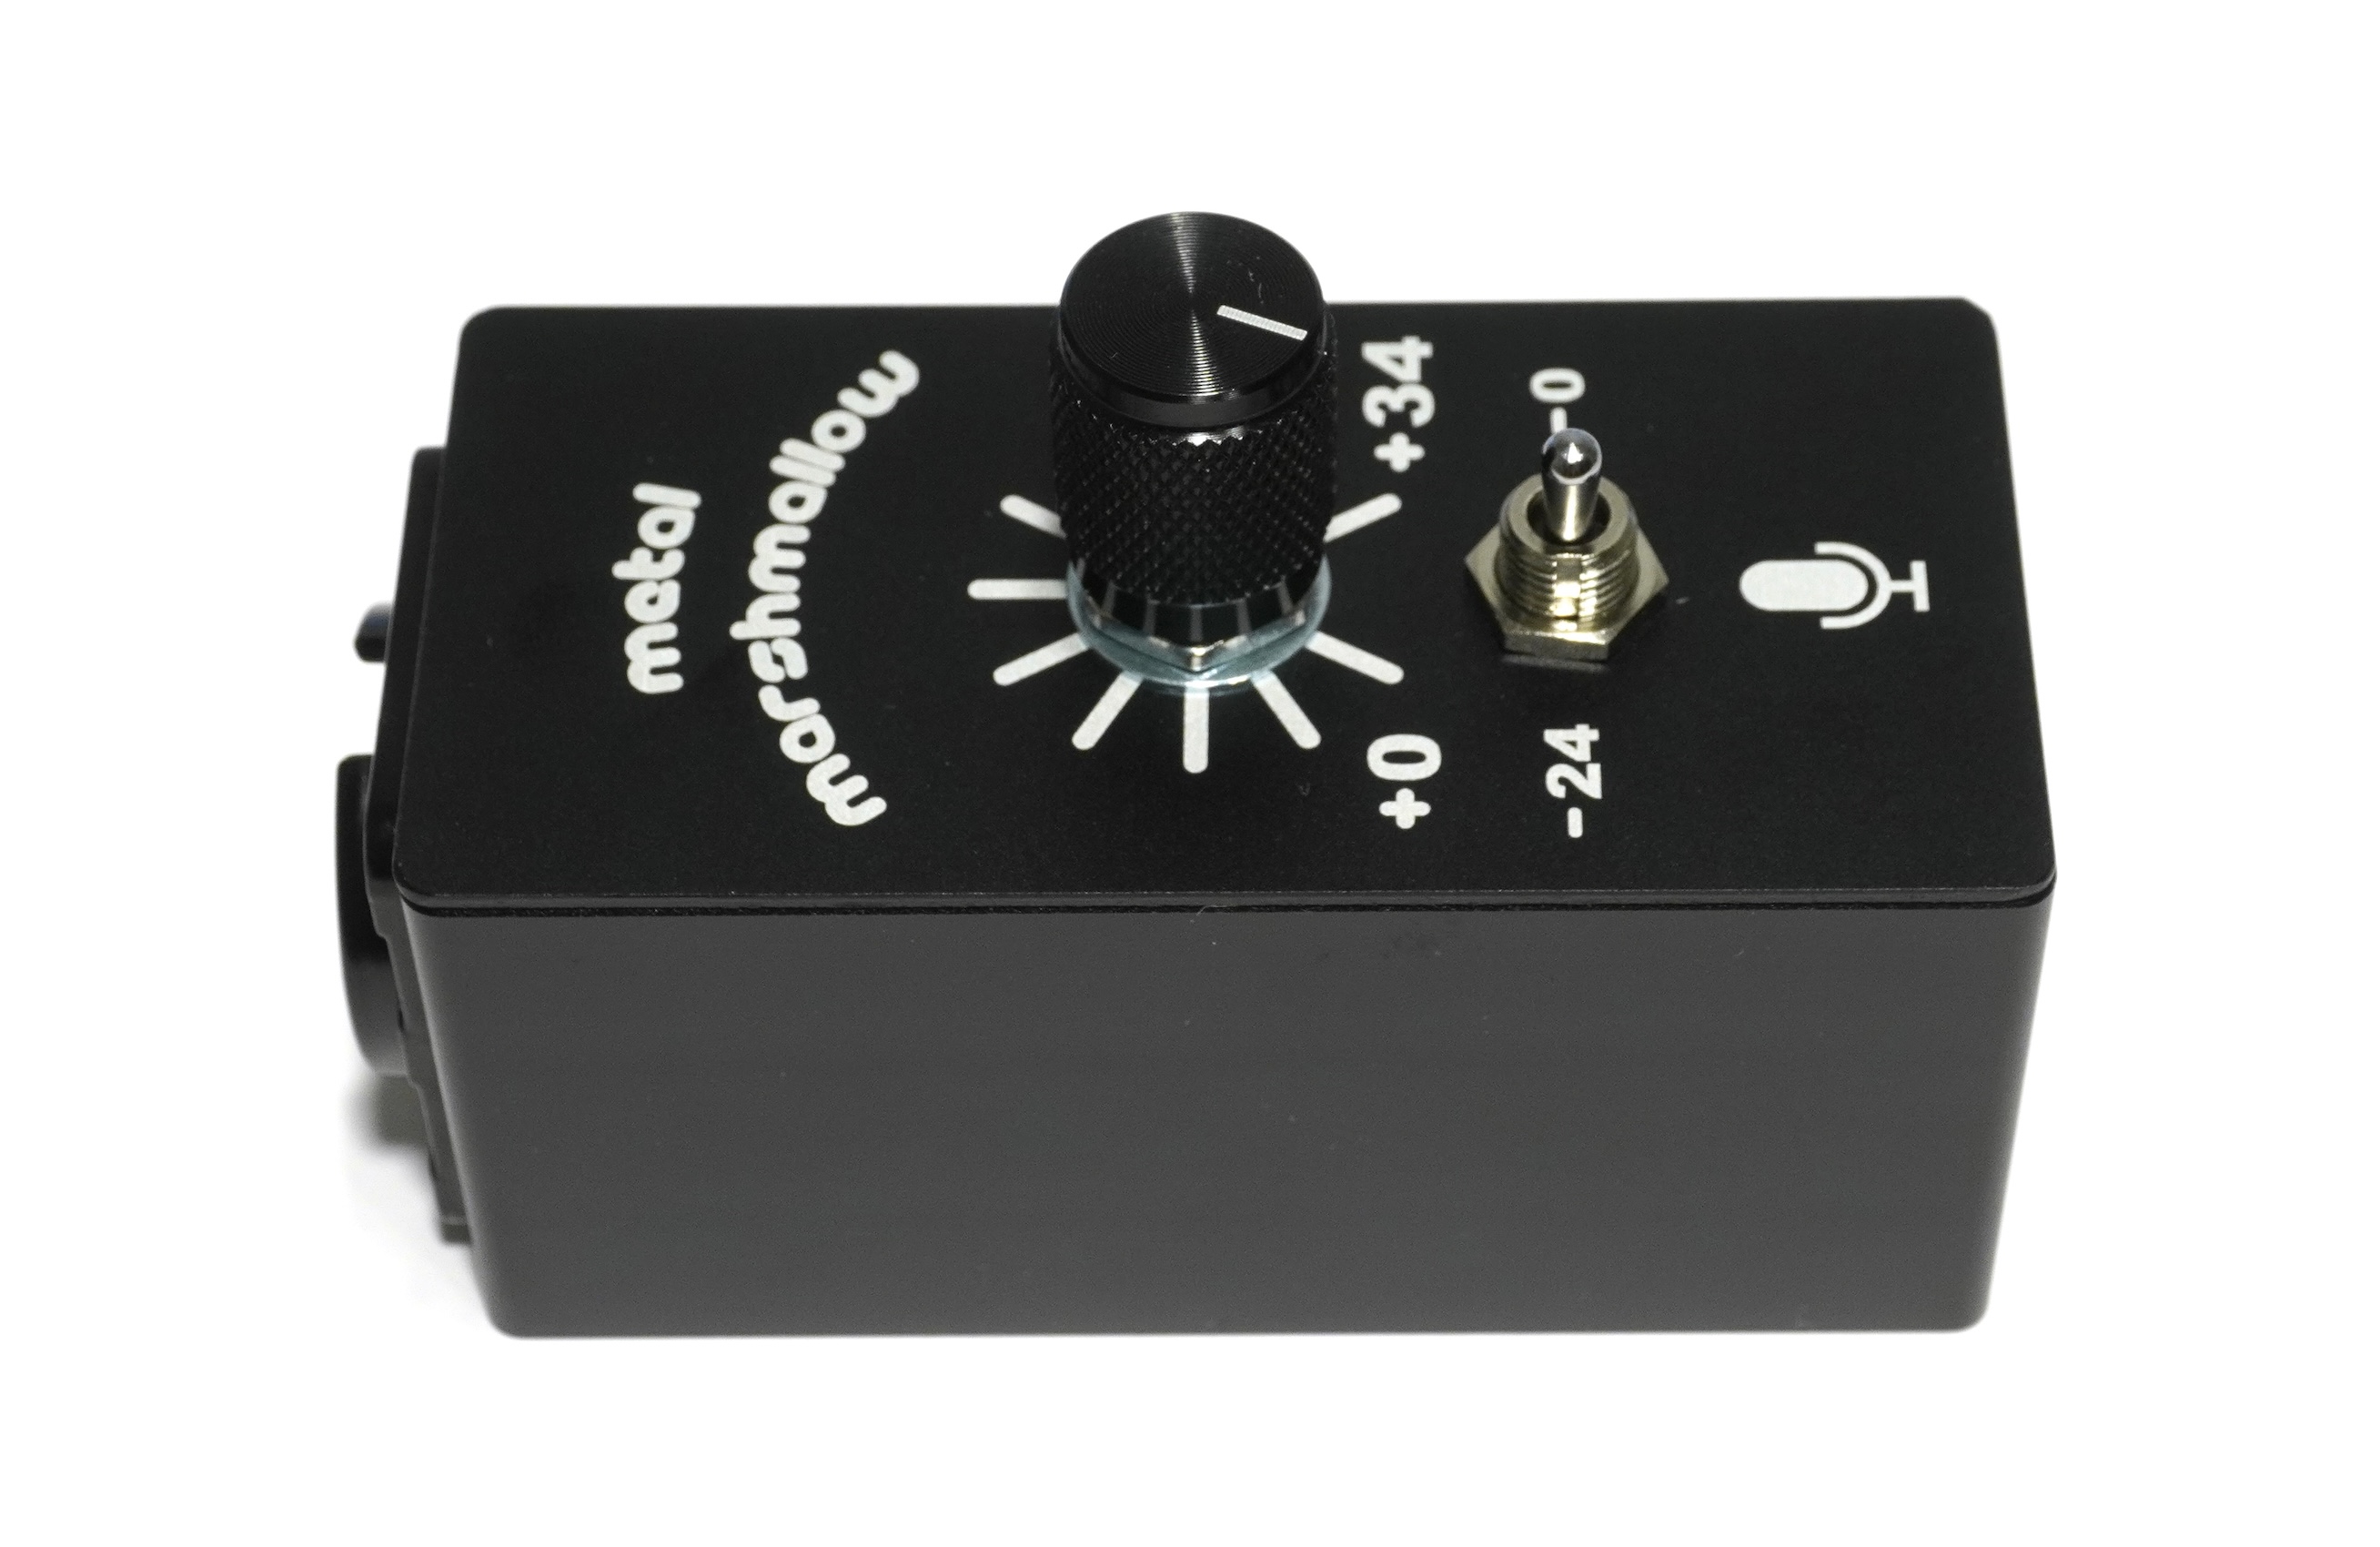
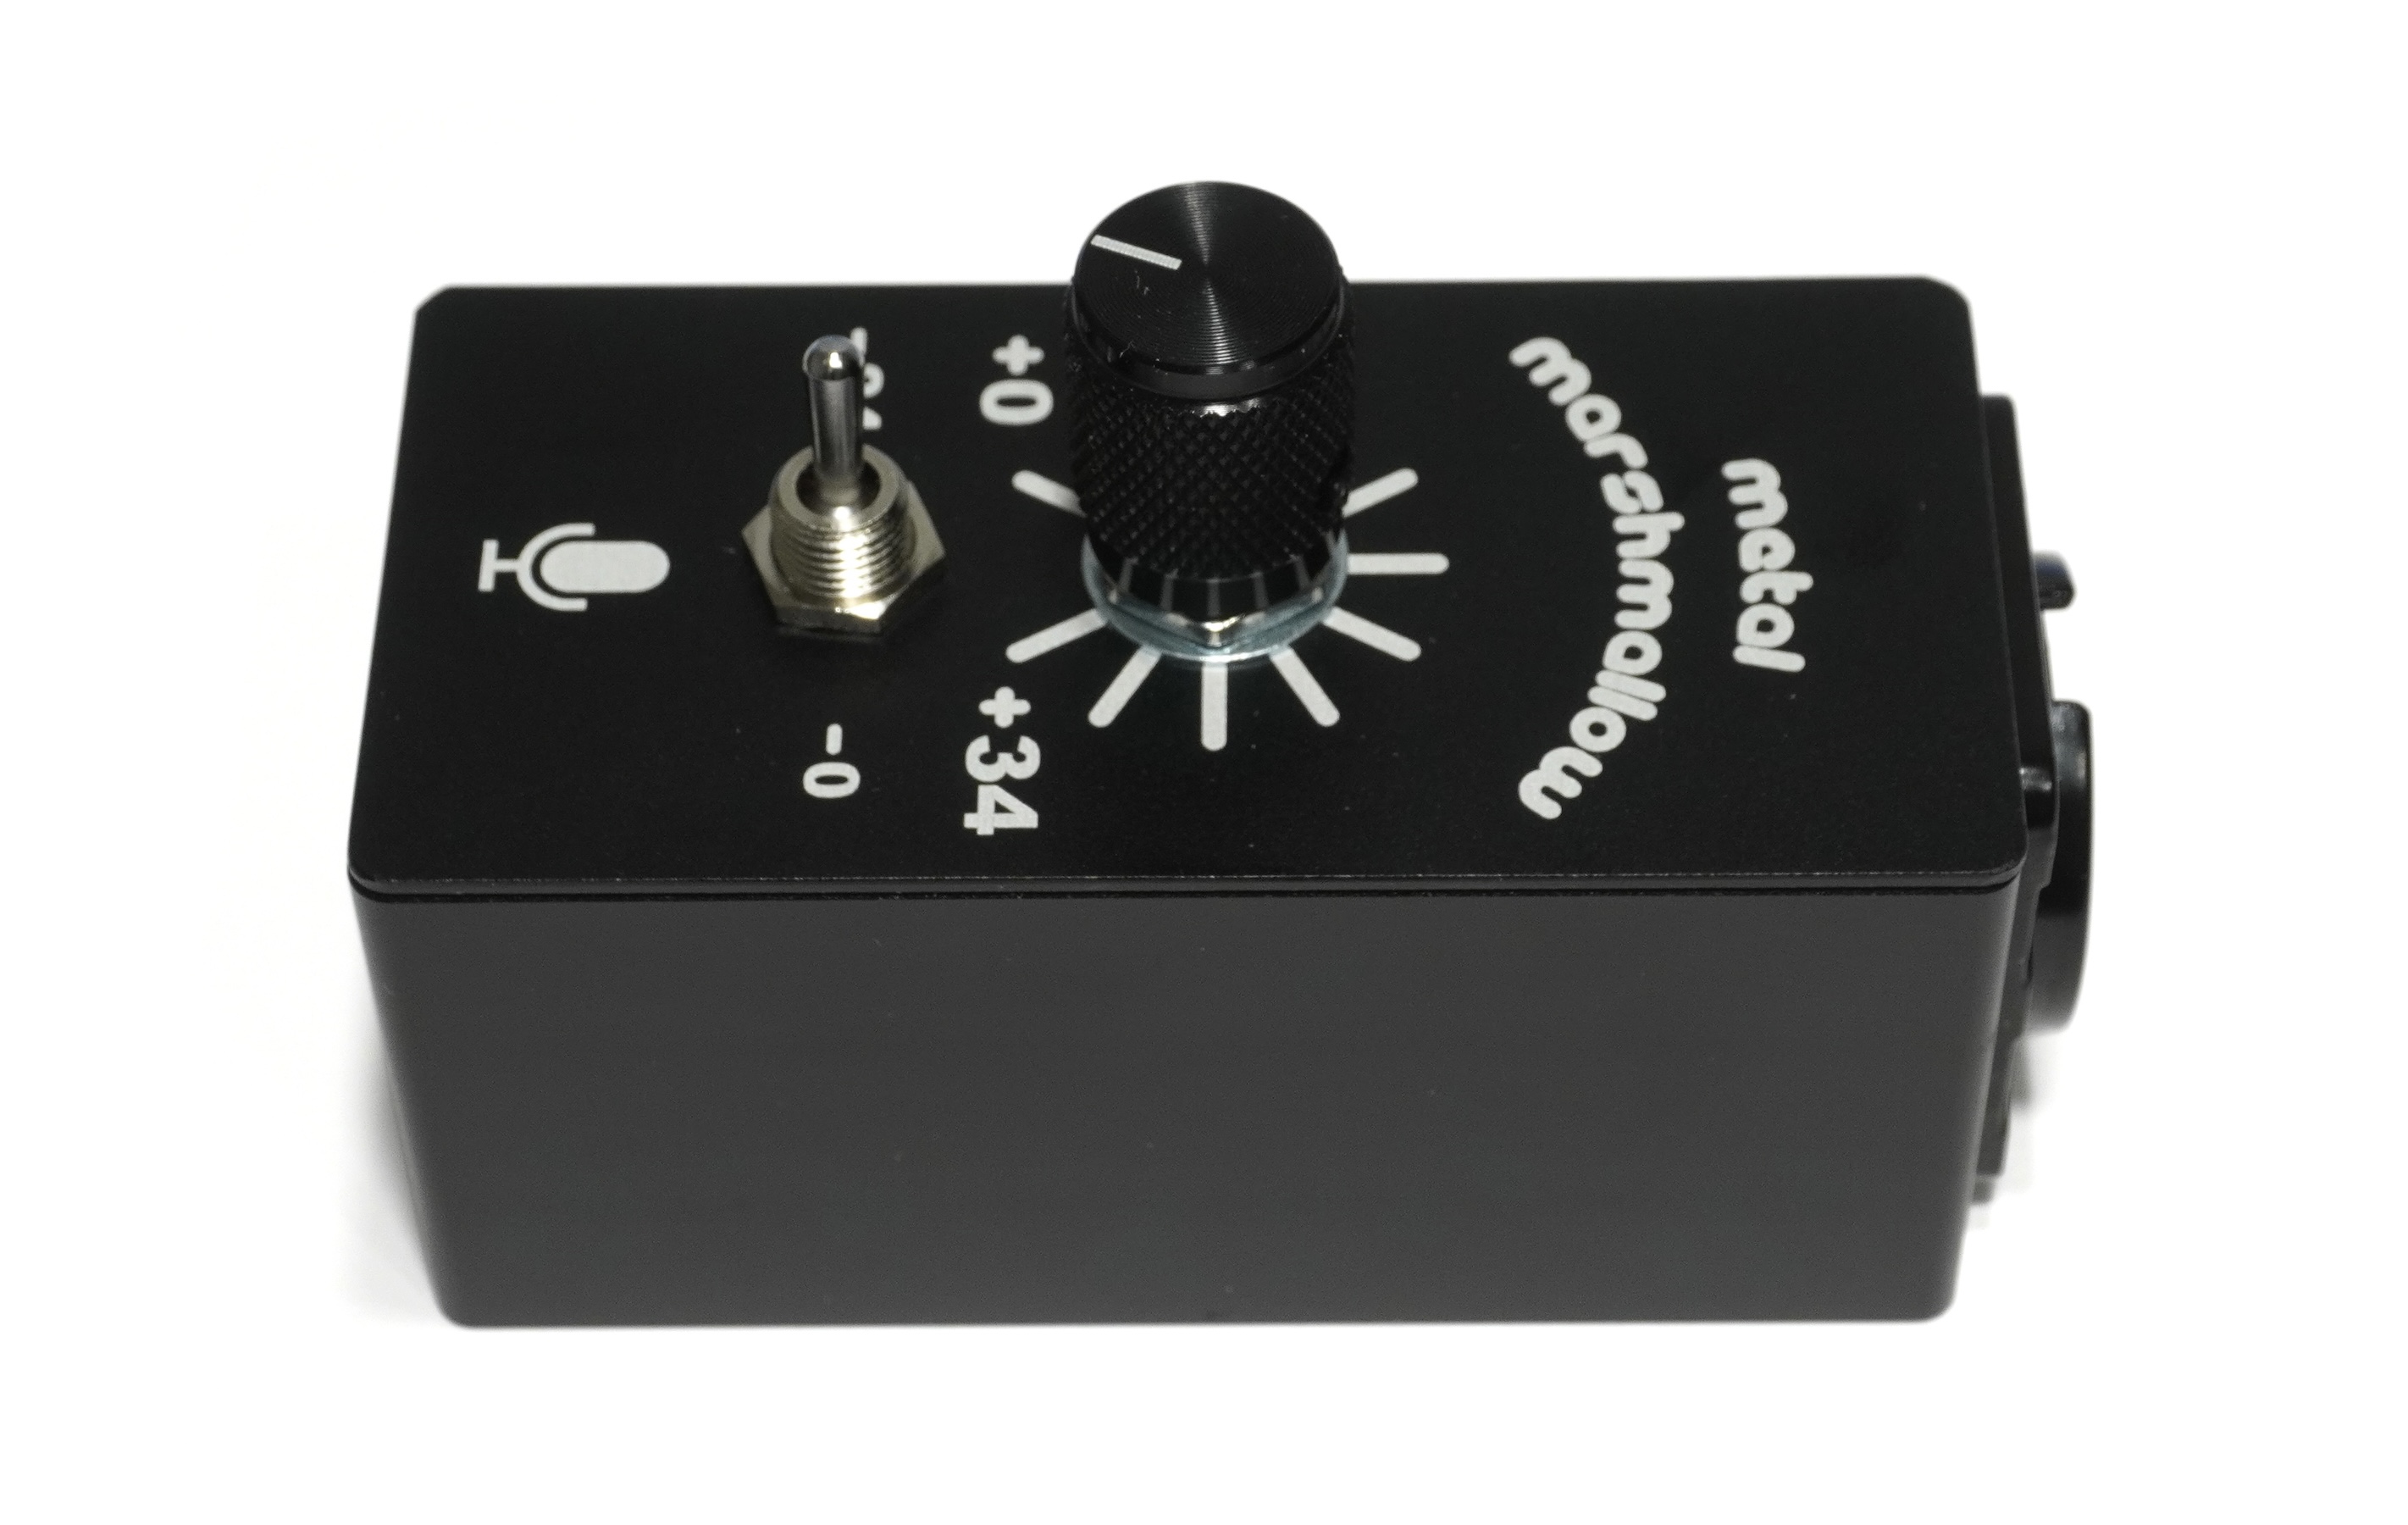
Gain Knob:
The knob increases the input gain of the preamplifier. The gain ranges from 0 dB to +34 dB, same as
Metal Marshmallow Pro. The knob should be thought of as a sensitivity adjustment for the microphone. It is not intended to control the output volume or loudness of the microphone, e.g. relative to other instruments during live performance (that should be done with the mixer or audio interface). For context, 0 dB is approximately the correct level for recording acoustic guitar. +34 dB can easily record the nearly inaudible sound of a caterpillar chewing a leaf with exquisite detail.
Attenuation Switch:
This attenuates the input by -24 dB when it is switched to the left, or not at all when it is switched to the right. Switching it to the left allows you to record very loud sounds without distortion. In this setting, you can hit the microphone with a hammer or put the microphone on the head of a snare drum and play as loud as possible without the preamp clipping. Note that a piezo disc can output in excess of 80V peak to peak in response to very loud sounds, which is more than most audio equipment can handle.
The total input level is the sum of the knob and the switch. There is some overlap, meaning the level from 0 dB to +14 dB can be achieved in 2 different ways: either with the switch to the right and the knob to the left; or vice vera. In this range, it is better to have the switch right and the knob left, as the noise level will be lower. In other words, it is not advised to attenuate the input by -24 dB, and then amplify it back up by +24 dB or more.
Dimensions
- Length: 78.5 mm
- Width: 35 mm
- Height: 35mm (NOT including knob + switch)
- Height: 54mm (including knob)
- Weight: 117 g
- Average Density: 1.22 milligrams per cubic millimeter
- Luminosity: approximately 0 solar luminosities
Instructions for Use
Metal Marshmallow Roaster needs to be powered with +48V Phantom Power in order to operate. This implies that it will not operate in the absence of separate audio equipment such as a mixer, audio interface, or recording device that is capable of supplying this power.
Best practice for all microphones is to plug the mic in while Phantom Power is turned off. Metal Marshmallow Roaster has internal protection against damage from being hot-plugged into +48V, but as a matter of best practice this should be avoided.
The best results and noise performance can be obtained with the following procedure:
- Turn the gain knob on MM Roaster fully counter-clockwise and flip the switch to the right, for a total of 0 dB
- Attach the contact mic sensor to the object that you wish to record and plug it into MM Roaster
- Plug MM Roaster into your audio device with Phantom Power off
- Turn Phantom Power on following your audio device’s instruction manual
- Set the input gain on the audio device to 0 dB
- Adjust the gain knob on MM Roaster until the desired signal level is achieved
- If the gain knob on MM Roaster is fully clockwise and the signal level is still too low, increase the the input gain on the audio device until the desired signal level is achieved
- If the gain knob on MM Roaster is fully counterclockwise and the signal level is still too high, flip the attnuation switch to the left and adjust the gain knob until the desired signal level is achieved
- If the gain knob on MM Roaster is fully clockwise and the signal level is still too low with the switch flipped left, you may attenuate (pad) the input on your audio device by approximately -6 dB to bring the signal level into the correct range for the device
- In a live performance setting, the audio device’s output gain can be used to adjust the loudness of the sound; during recording the output gain should be set to 0 dB.